![]()
DIY Mid-Century Planter
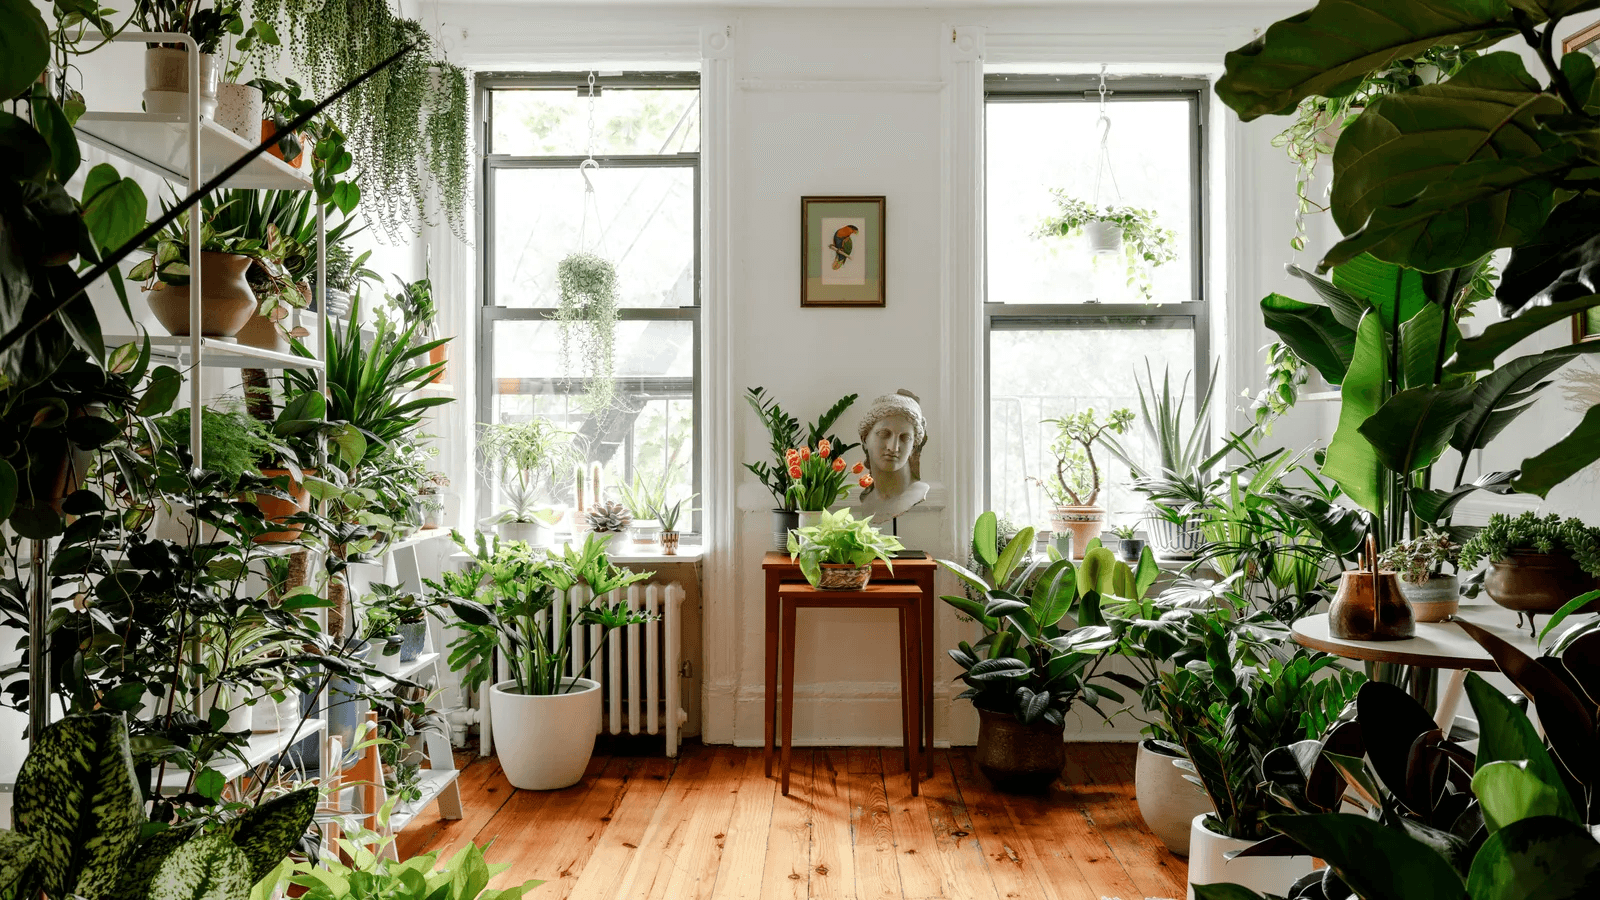
Looking to bring a touch of timeless elegance into your home? A DIY mid-century planter is the perfect project to blend style and functionality. As the trend for indoor gardening continues to flourish in 2025, combining iconic mid-century design elements with practical planting solutions can make your living space feel both contemporary and classic.
Hey, friends! Today we’re partnering with Osmocote Plant Food to bring you a highly requested DIY – a mid-century inspired planter.
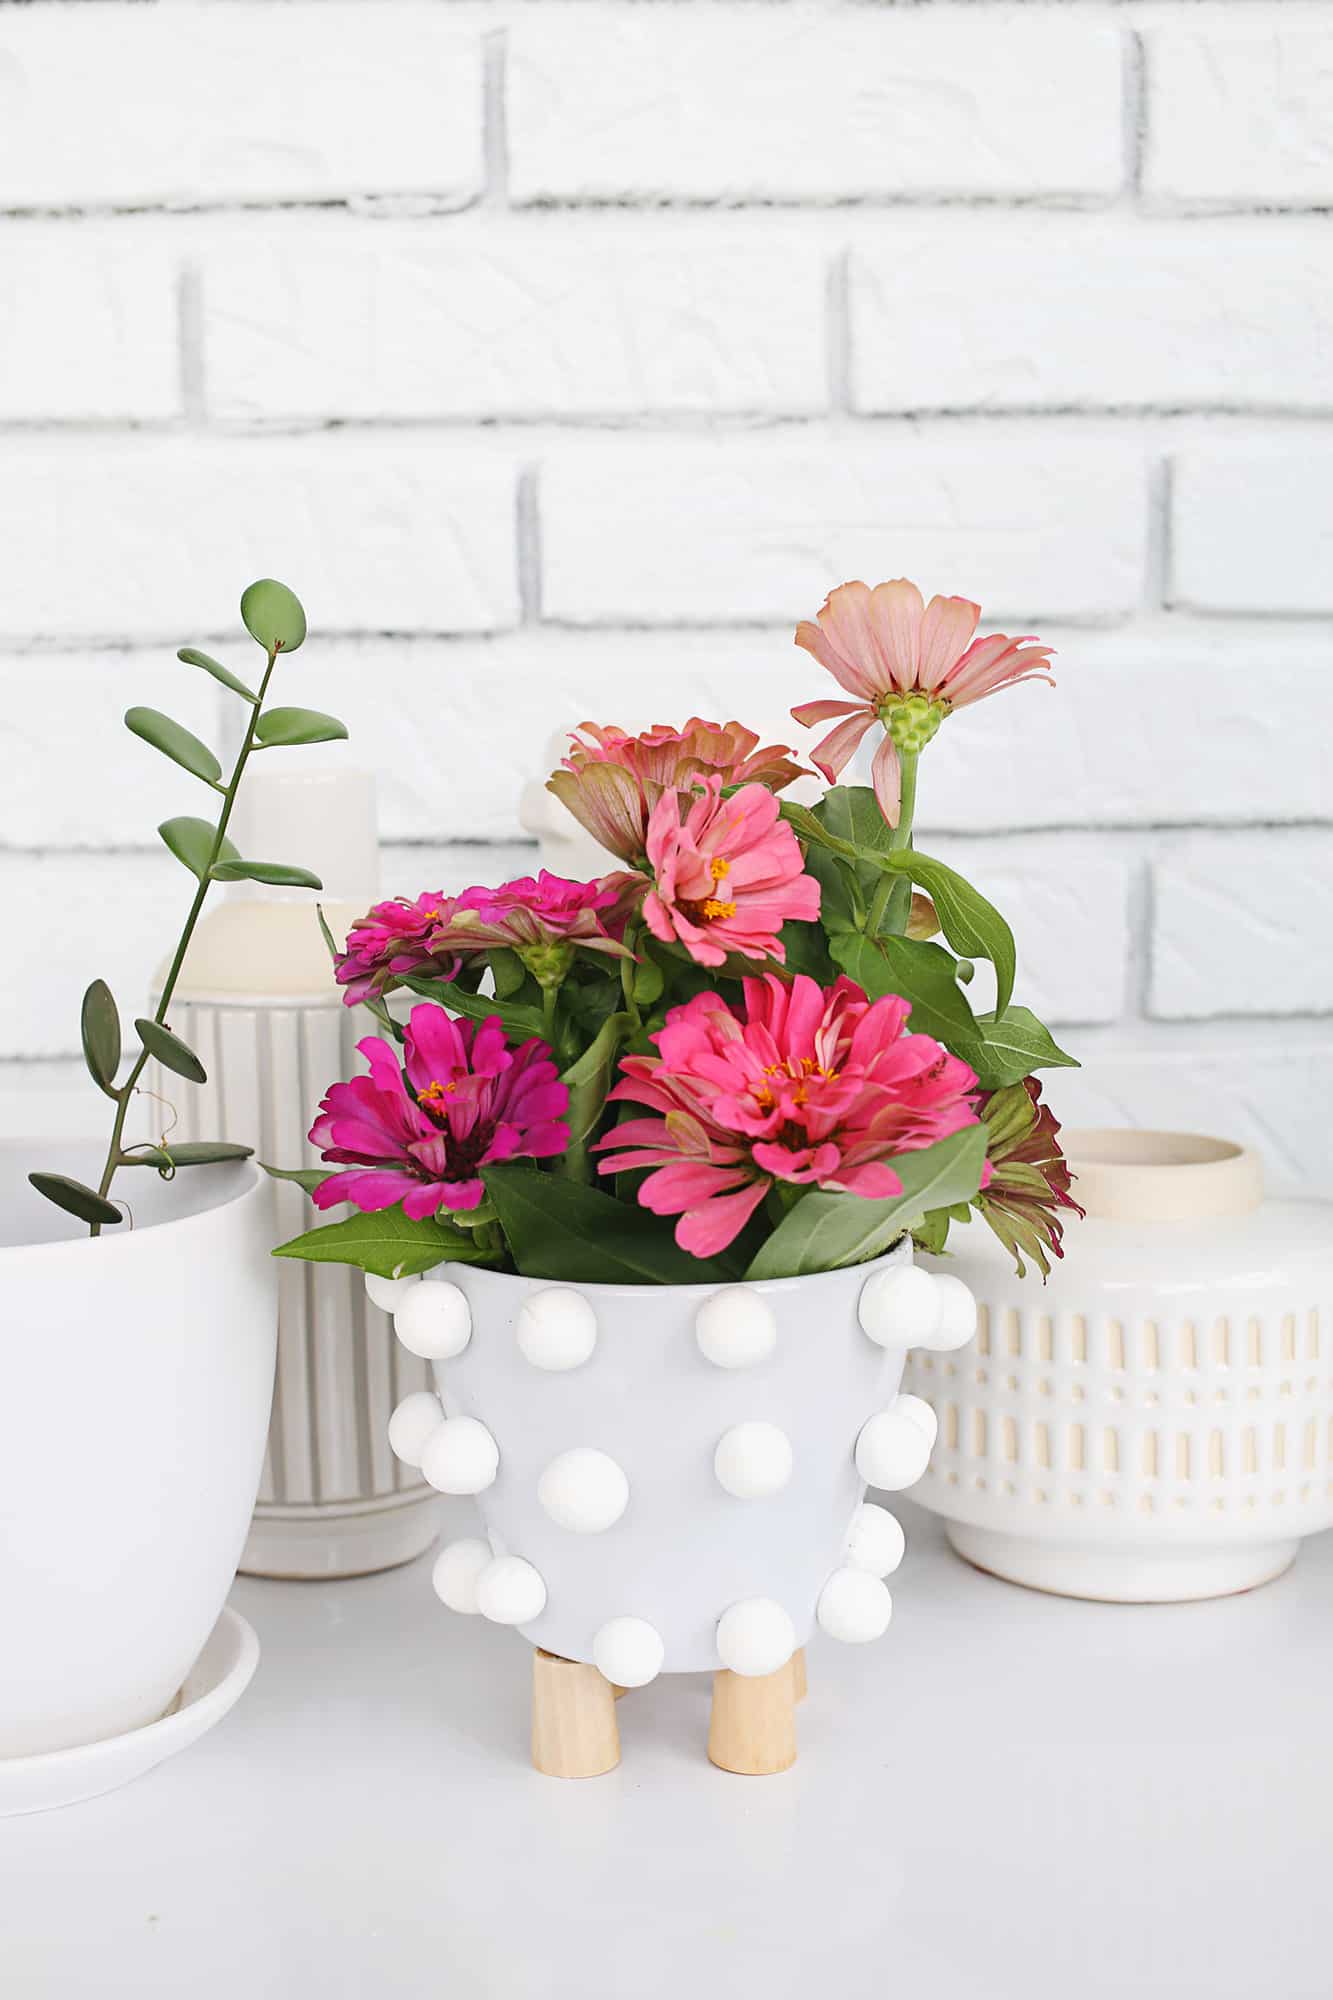
You guys are always asking me where you can get cute, retro-inspired planters for a reasonable price. And, if I’m being honest, they’re typically pretty pricey! But I love the look of wood legs and unique designs, so I set out to create a budget-friendly version for you guys! The wood legs on my planter are mid-century inspired and the clay balls are inspired by this incredible vase by Kelly Wearstler.
And, you guys, not only is this project affordable and unique, but it’s super simple to make at home! OK, let’s get started!
Why Choose a Mid-Century Planter?
Mid-century modern design is characterized by clean lines, organic forms, and minimalistic aesthetics. A mid-century planter not only complements various interior styles but also highlights your plants, turning them into statement pieces. The best part? Creating one yourself allows you to customize it to suit your space and plant collection.
Materials You’ll Need
- Planter: Opt for a ceramic or fiberglass pot with a neutral tone like white, black, or terracotta.
- Wooden Stand: Recreate the iconic wooden legs with dowels or repurpose an old stool.
- Paint and Stain: Use wood stain for the legs and matte paint for the pot.
- Tools: Sandpaper, drill, screws, and a paintbrush.
- Plants: Snake plants, fiddle leaf figs, or monsteras are ideal for a mid-century aesthetic.
- Osmocote Plant Food: A slow-release fertilizer to keep your plants thriving.
Step-by-Step Guide
- Prepare the Pot and Stand: Sand the wooden pieces to smooth out rough edges. Paint or stain them to match your decor.
- Assemble the Stand: Use screws or wood glue to attach the legs to a circular base.
- Planting: Fill the pot with high-quality soil and your chosen plant. Mix Osmocote Plant Food into the soil to provide nutrients for up to six months.
- Finishing Touches: Place the pot on the stand and position it in a spot with ample natural light.
Benefits of Using Osmocote Plant Food
Osmocote Plant Food is a game-changer for plant enthusiasts. Its controlled-release formula ensures your plants receive consistent nutrients, promoting healthier growth and vibrant foliage. By incorporating Osmocote into your DIY mid-century planter, you’re setting your greenery up for long-term success.
Practical:
For full instructions, see our video below! I used Osmocote Plant Food to complete this project. One application contains 11 essential nutrients and feeds up to 6 months. Works with virtually all plant varieties and growing conditions. Each granule is coated with a unique resin that controls nutritional release.
Supply Links:
–wood beads
–air dry clay
–Osmocote Outdoor & Indoor Plant Food
-for the flowers I used Zinnias


Conclusion
Creating a DIY mid-century planter in 2025 is an excellent way to refresh your interior design while nurturing your love for plants. With the right materials and care—including the use of Osmocote Plant Food—your planter will not only stand out but also support thriving, beautiful greenery. Start your DIY journey today and let your plants shine in mid-century splendor.


